

Emergency & Help
24/7 Emergency & General Advisory
🚨 24/7 Medical Emergency
Non-Emergency Advisory
10:00 AM – 6:00 PM, Mon–Sat
For appointments & general queries.
24/7 Emergency & General Advisory
🚨 24/7 Medical Emergency
Non-Emergency Advisory
10:00 AM – 6:00 PM, Mon–Sat
For appointments & general queries.
Discover the power of hanging knee raises for a stronger, more defined core. Learn proper form, benefits, and variations for an effective ab workout.
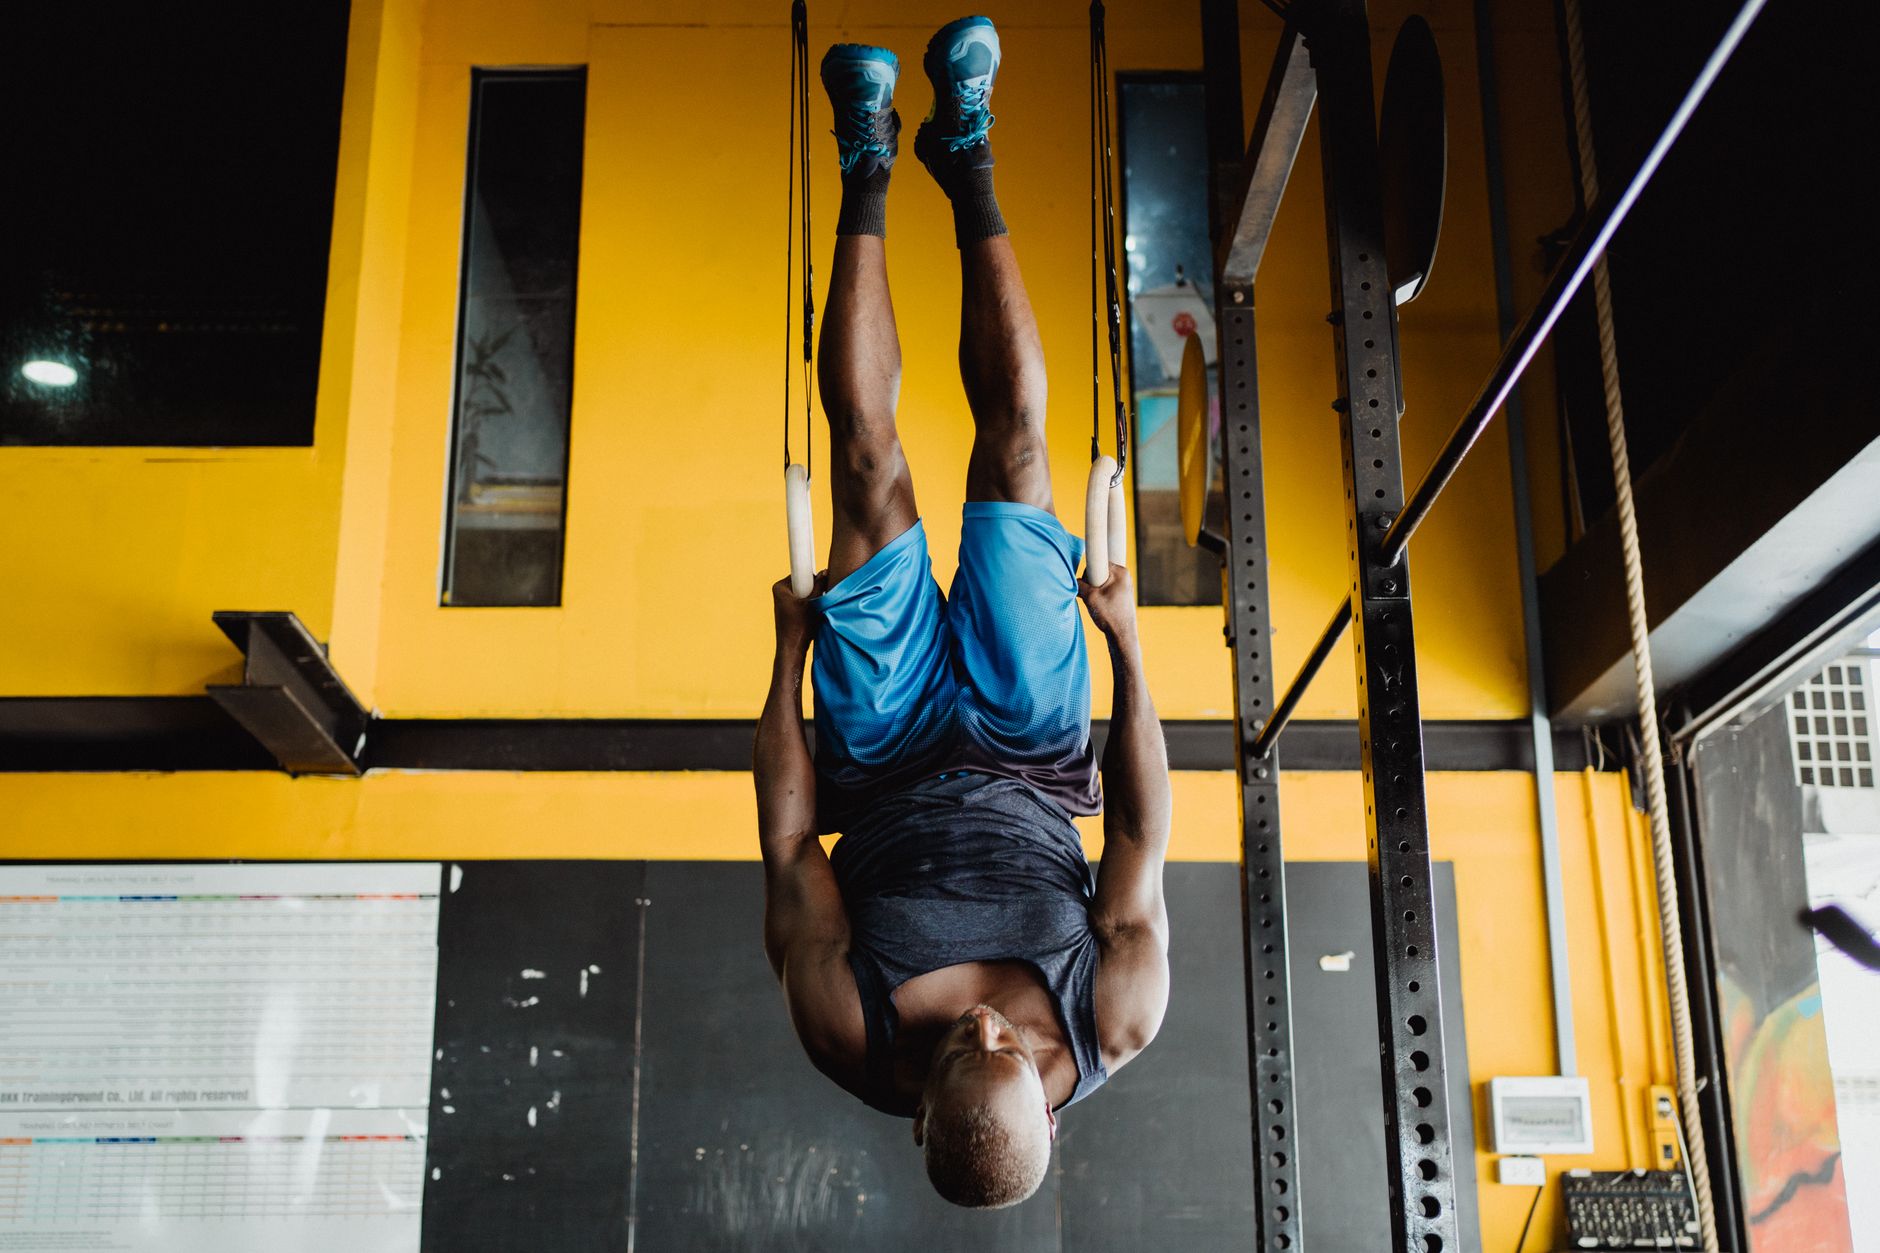
Are you tired of endless crunches that leave your neck aching and your abs untouched? It's time to ditch the floor and hang around for a workout that truly delivers! Hanging knee raises are a fantastic, no-nonsense exercise that targets your entire core, giving you that strong, stable midsection you've been dreaming of. For us in India, where active living is often part of our culture, incorporating such functional exercises can make a world of difference. Forget fancy gym equipment; all you need is a sturdy bar to hang from. This simple yet powerful move not only sculpts your abs but also builds impressive forearm and grip strength. Ready to elevate your fitness game?
Simply put, a hanging knee raise is an exercise where you hang from a bar, engaging your abdominal muscles to lift your knees towards your chest. It’s a dynamic movement that challenges your core in a way few other exercises can. Unlike many floor-based ab exercises, hanging knee raises require you to stabilize your entire body, making them incredibly effective for building functional strength.
Why should you add hanging knee raises to your routine? The benefits are manifold:
When you perform a hanging knee raise with proper form, you're hitting several key muscle groups:
Getting the form right is essential to maximize benefits and prevent injury. Here’s how to do it:
Even with a seemingly simple exercise, common errors can reduce effectiveness and increase injury risk. Watch out for these:
Not everyone can jump into 15 perfect reps right away. Here’s how to adjust:
Tip: If you can easily do more than 15 repetitions with perfect form, it’s time to move to a harder variation. If you struggle to reach 10 reps, try an easier version or reduce the repetitions.
While hanging knee raises are generally safe, it's wise to consult a healthcare professional or a qualified fitness trainer before starting any new exercise program, especially if you:
A doctor or physiotherapist can assess your suitability for the exercise and provide guidance on modifications if needed. Listen to your body; pain is a signal to stop!
Aim for 3 sets of 10-15 repetitions with perfect form. If you can do more than 15 easily, consider a more challenging variation. If you can’t do 10, try an easier version or reduce the reps.
When performed correctly, with a focus on core engagement and preventing back arching, hanging knee raises can strengthen the muscles that support the spine, potentially helping to alleviate some types of lower back pain. However, if you have existing back issues, consult a doctor or physiotherapist first.
With consistent practice (3 sets of 10-15 reps, 2-3 times per week) and proper form, you can expect to see noticeable improvements in your core strength and definition within a few weeks. Diet and overall activity level also play a significant role in visible results.
Some shaking is normal, especially as you fatigue or if you’re new to the exercise. It indicates your muscles are working hard. However, excessive or uncontrolled shaking might suggest you’re overexerting yourself or using momentum. Focus on slower, more controlled movements.
Visit Hospital
Near You

Learn essential dynamic and static stretches for your inner thighs to improve flexibility, prevent injuries, and reduce muscle tension. Perfect for Indian readers seeking practical advice.
April 1, 2026

Discover simple yet effective glute stretches to relieve tightness, reduce back pain, and improve your mobility. Learn how to perform them safely at home or at your desk.
April 1, 2026

Squats and leg presses are both excellent for leg day, but they differ in muscle engagement, benefits, and risks. Learn which one is best for your fitness goals.
April 1, 2026